Got feedback? Additional questions? Just want to have a friendly chat?
Get in touch!
Introduction
Routes are created interactively in the visual analytics page by clicking segments in a connected road network layer.
A route is saved and can then be reused:
-
for different analysis attributes (e.g. number of trips, speed)
-
in different projects
-
across both 1D and 2D route analysis modes
Creating routes
To create a route:
-
Ensure the road network dataset is visible (the line network with connectivity).
-
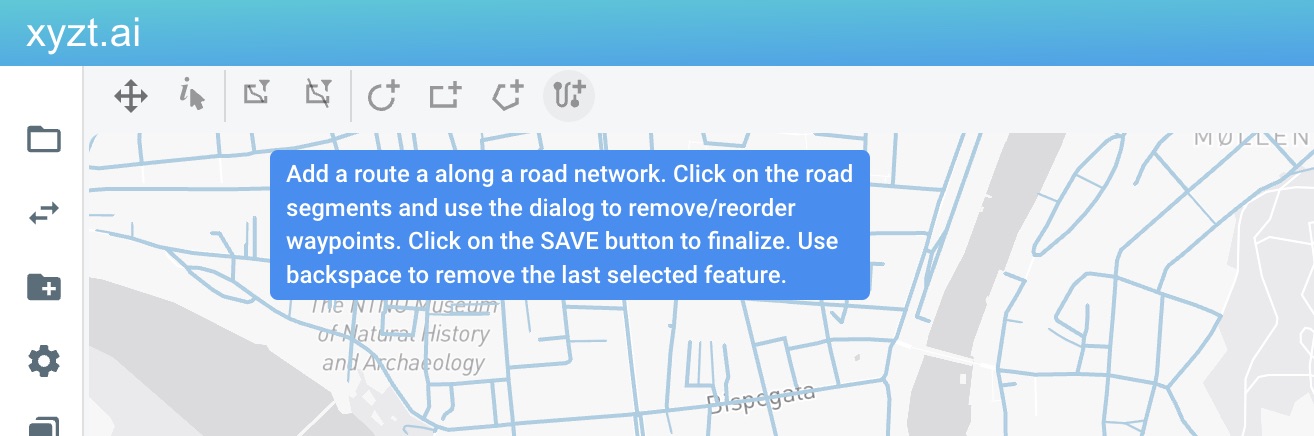
Activate the route creation tool (can be found above the map).
-
Click on road segments in the map to build the route.
-
Each click adds a segment to the route.
-
Segments must be connected through the network topology (through the network graph defined by the start/end node ids).
-
-
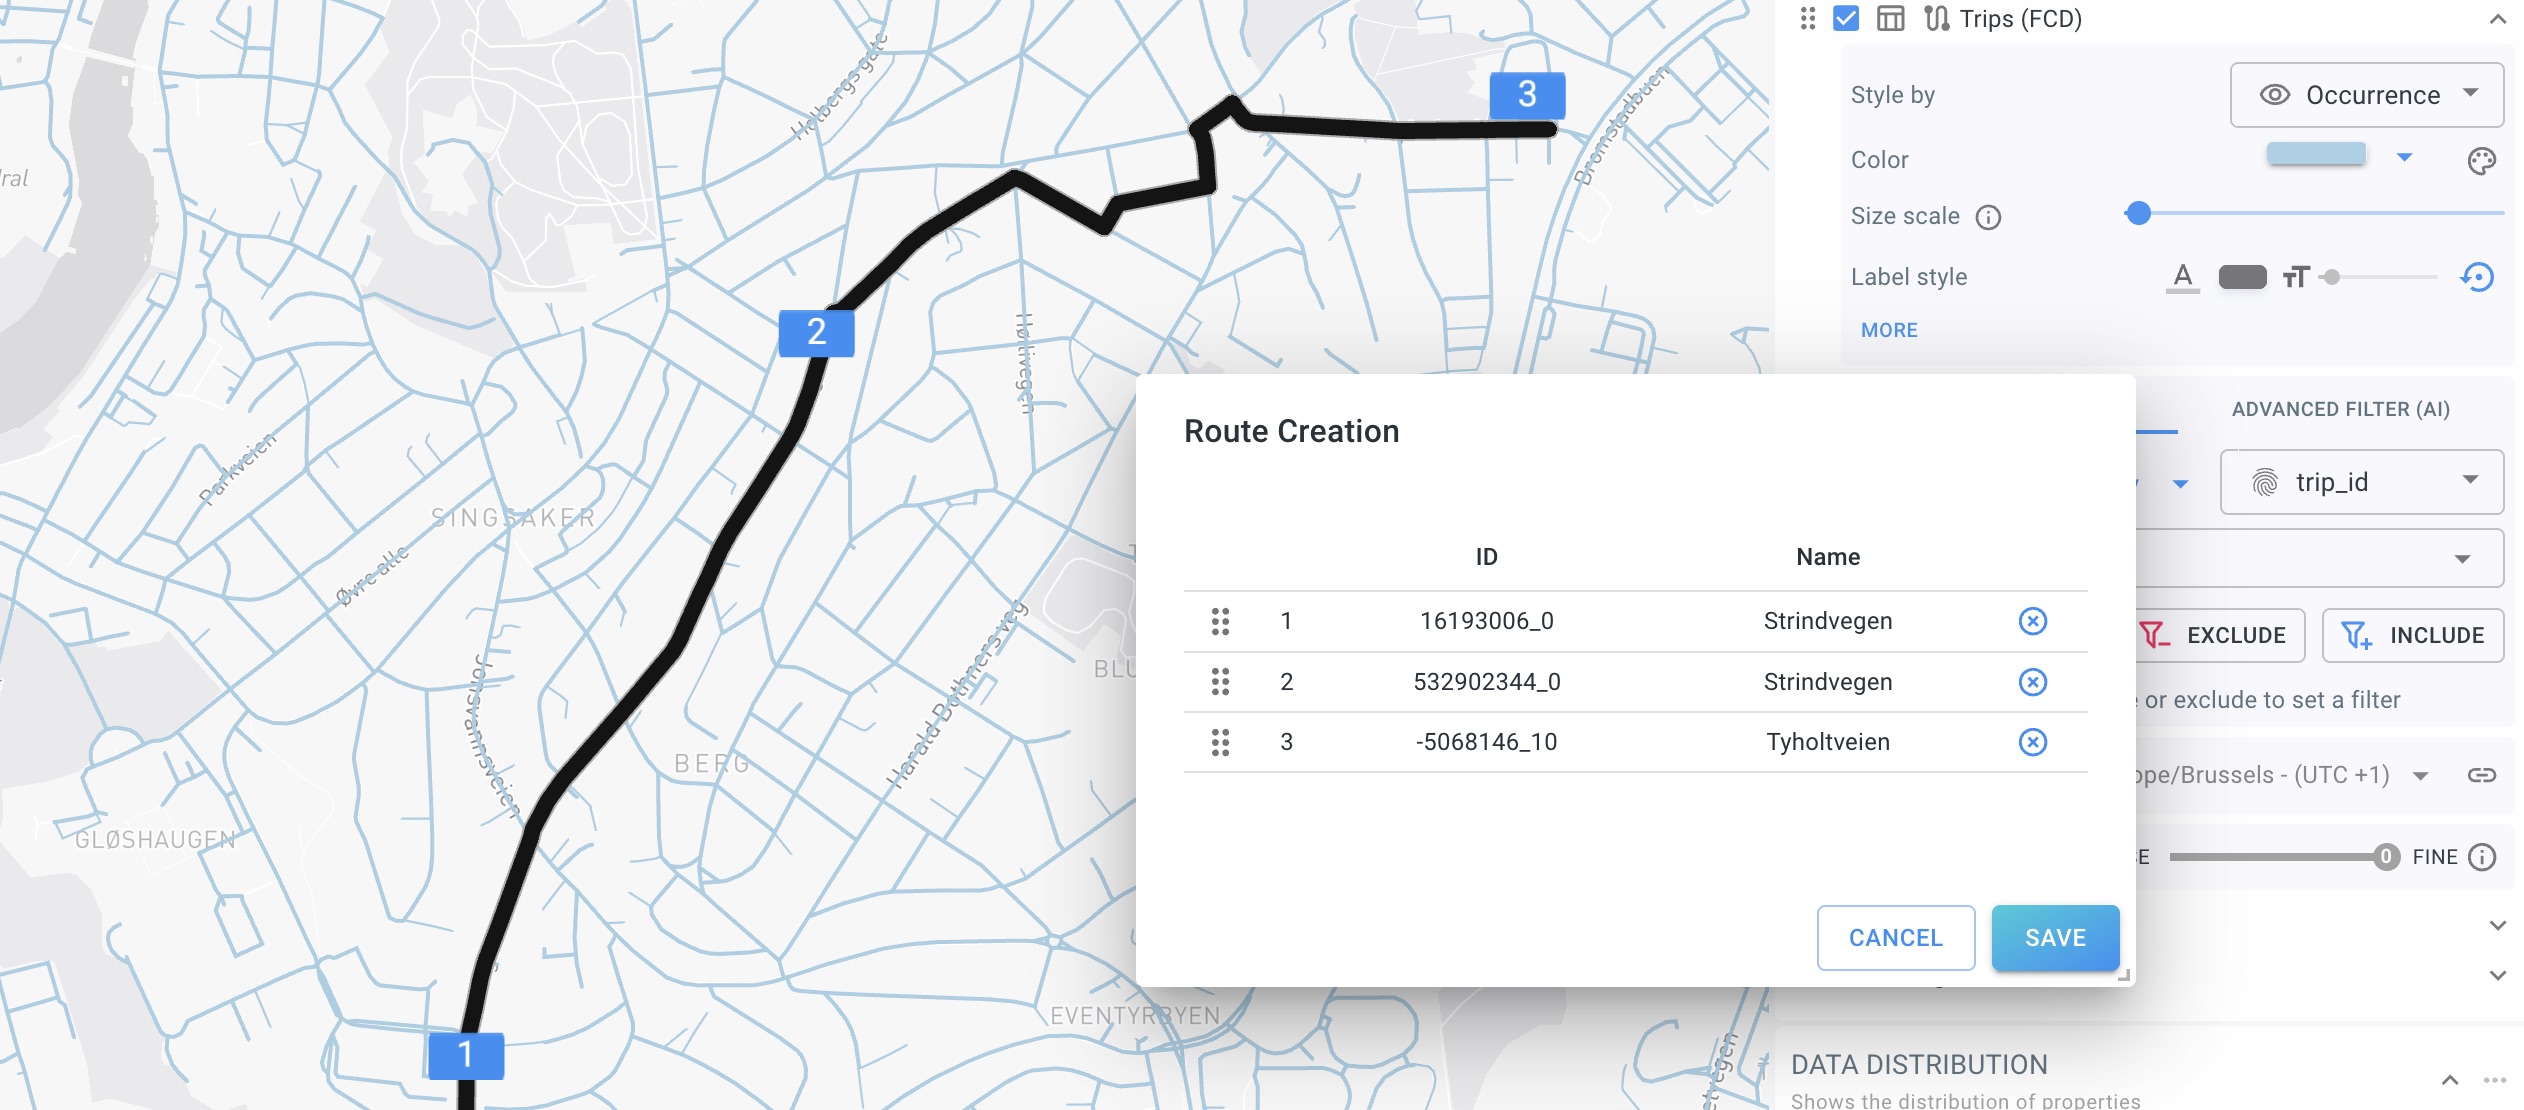
Use the route creation dialog to review the route.
-
Click Save to finalize the route.
While creating a route:
-
You can remove the last selected segment (the tool hint mentions using backspace).
-
You can remove/reorder route parts in the dialog (depending on the UI controls shown).
| Build routes in the travel direction you care about (for directional attributes). If direction matters in your use case, ensure you click segments in order. |
Using routes in different projects
Once a route is saved, it becomes part of your Drawing layer. This is a special Areas of Interest layer, that can also be attached to other projects.
Note that routes used during route analysis need to be compatible with the data set used for route analysis. I.e., a created route on a different road network will not provide route analysis results.
Got feedback? Additional questions? Just want to have a friendly chat?
Get in touch!