
Got feedback? Additional questions? Just want to have a friendly chat?
Get in touch!
Managing the data sets in a project
Step 0: Load the project
Before you can make changes to the data sets used by the project, you need to load the project.
Step 1: Navigate to the data sets overview page
by clicking on the Data sets button in the left navigation bar
Figure 1. The Data sets button in the navigation bar
Step 2: Discover which data sets are included in project
The data sets overview page lists all the data sets to which you have access.
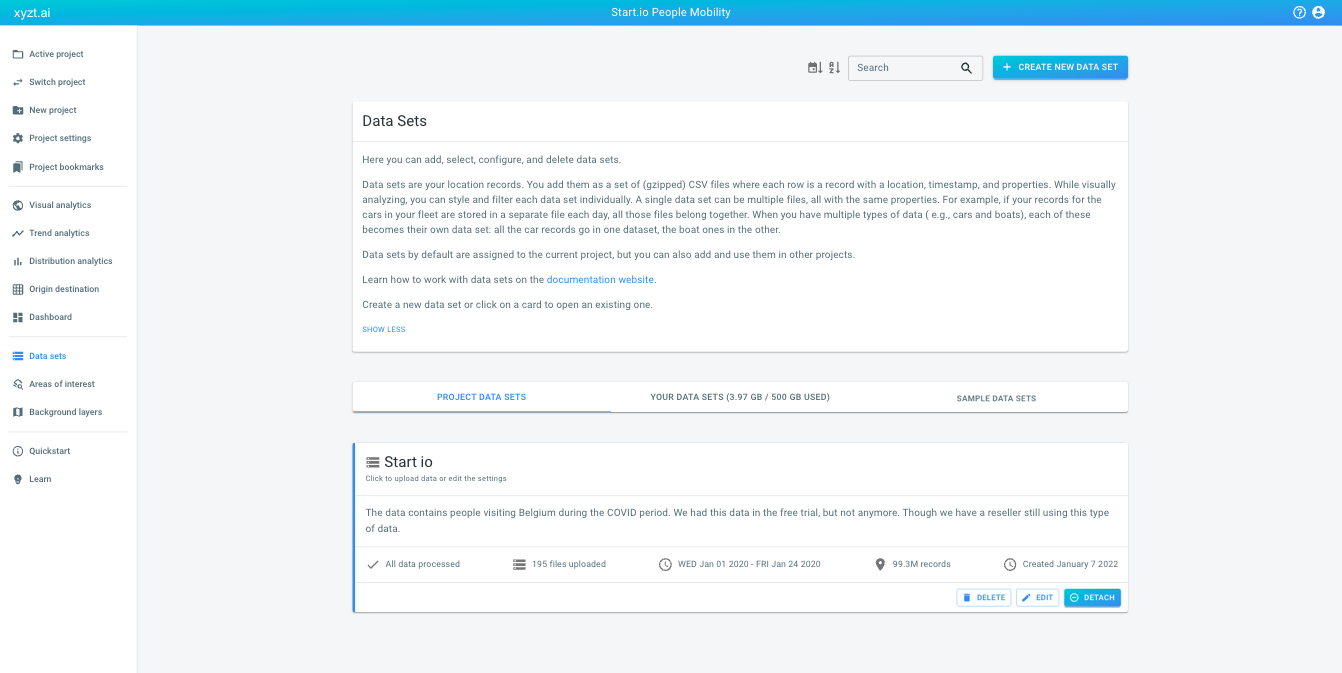
Figure 2. The Data sets overview page
The available data sets are divided in 3 groups:

Figure 3. The Data sets three tabs
-
PROJECT DATA SETS: shows the data sets that are currently included in the project, if any
-
YOUR DATA SETS: lists all the data sets in your account created by any member of your team. This includes both the data sets included in the current project, and ones which aren’t included.
-
SAMPLE DATA SETS: these are example data sets that you can use in your own projects.
The data sets which are currently used by the project are all grouped on the PROJECT DATA SETS tab. When accessing another tab like for example the YOUR DATA SETS tab, the card of an included data set has a blue indication on the left side.
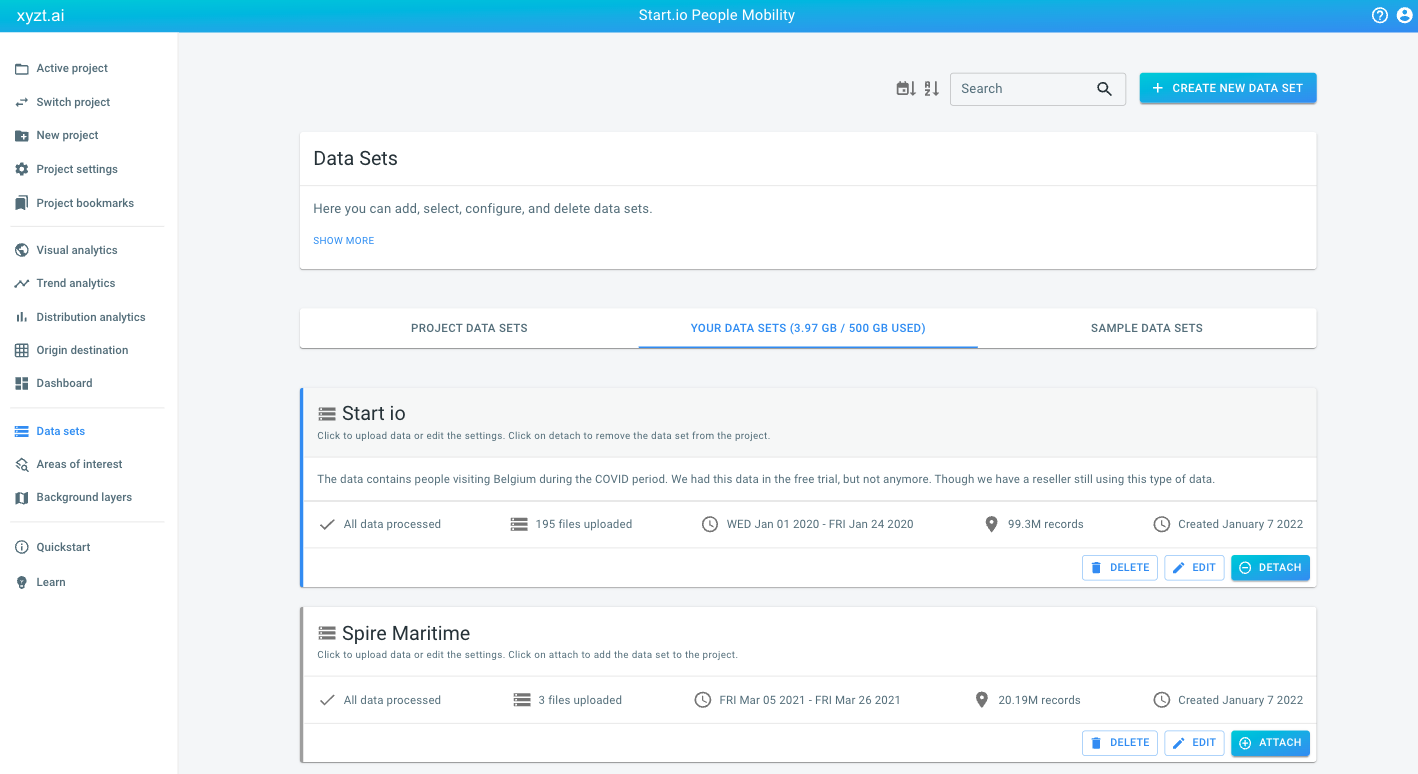
Figure 4. Your data sets tab
Step 3: Find the data set you want to add to or remove from the project
Browse through the available data sets and find the card of the data set you want to add to or remove from the project.
|
Use the search box at the top of the page
To make it easier to find the data set you are looking for, you can:
|
Step 4: Add or remove the data set from/to the project using the attach/detach button
Click on the Attach button on the right bottom of the data set card to add the data set to the project.

Figure 5. The data set card with attach button
If the data set is already added to the project, you can click the Detach button to remove it from the project.

Figure 6. The data set card with detach button
|
Detaching a data set can hide it from the UI
The PROJECT DATA SETS tab is very convenient if you want to detach a data set from the project, as it only lists the currently included data sets. The moment you press the Detach button on a card, the data set will be removed from the project and hence no longer appear on that tab. That doesn’t mean the data set is removed from your account, but simply that it’s no longer included in the project. you will still find it on the YOUR DATA SETS or SAMPLE DATA SETS tab. |
|
Adding or removing data sets doesn’t affect the data set itself
Adding (attaching) or removing (detaching) a data set from/to a project doesn’t affect the data set in any way. It only creates or removes a relationship between the data set and the project. For example, detaching a data set from the project won’t delete the data set itself. It will only remove the relationship between the data set and the project. |
Managing the background layers in a project
Step 0: Load the project
Before you can make changes to the background layers used by the project, you need to load the project.
Step 1: Navigate to the background layers overview page
by clicking on the Background layers button in the left navigation bar
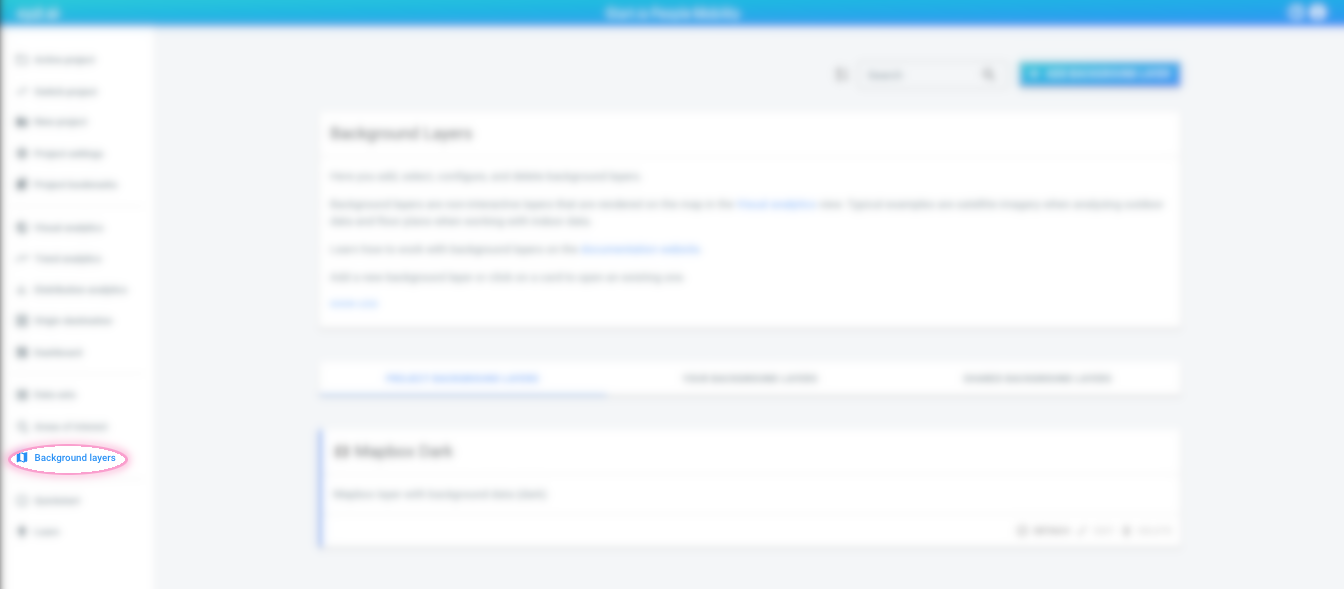
Figure 7. The Background layers button in the navigation bar
Step 2: Discover which background layers are included in project
The background layers overview page lists all the background layers to which you have access.
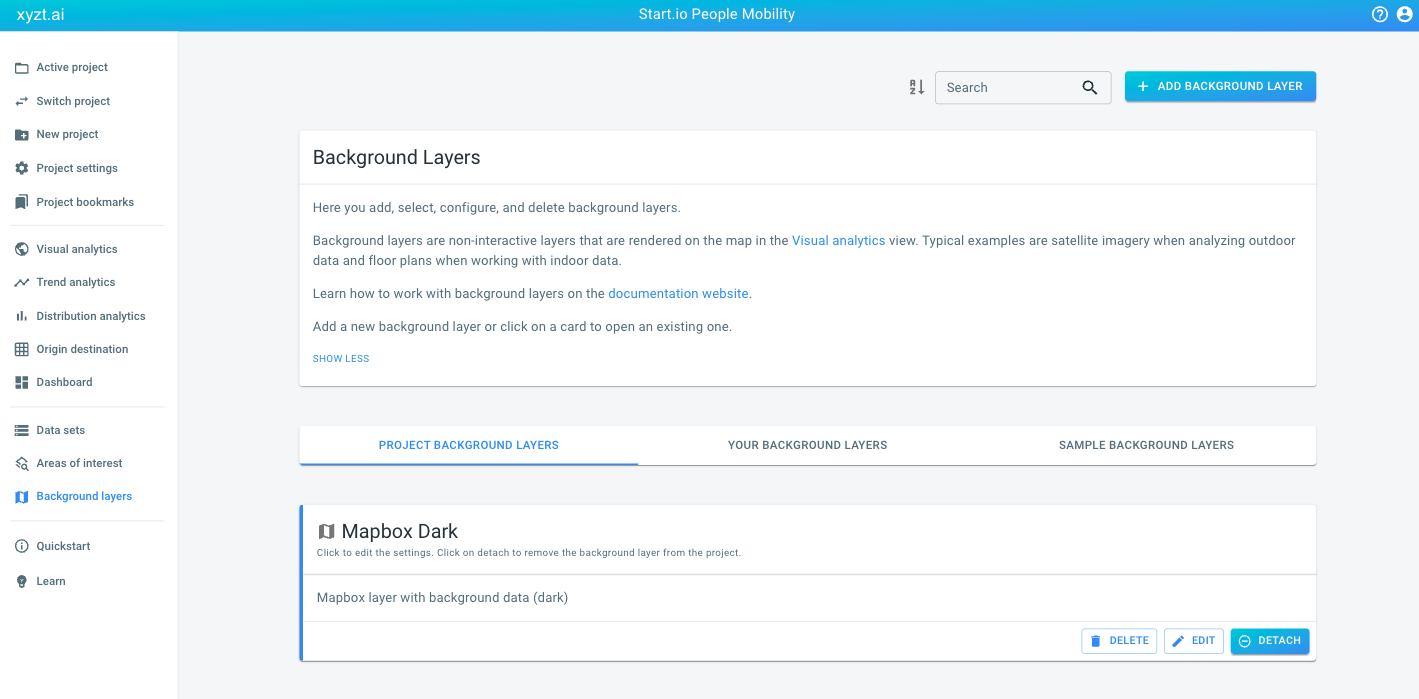
Figure 8. The Background layers overview page
The available background layers are divided in 3 groups:

Figure 9. The Background layers three tabs
-
PROJECT BACKGROUND LAYERS: shows the background layers that are currently included in the project, if any
-
YOUR BACKGROUND LAYERS: lists all the background layers in your account created by any member of your team. This includes both the background layers included in the current project, and ones which aren’t included.
-
SAMPLE BACKGROUND LAYERS: these are example background layers that you can use in your own project.
The background layers which are currently used by the project are all grouped on the PROJECT BACKGROUND LAYERS tab. When accessing another tab like for example the YOUR DATA SETS tab, the card of an included background layer has a blue indication on the left side.
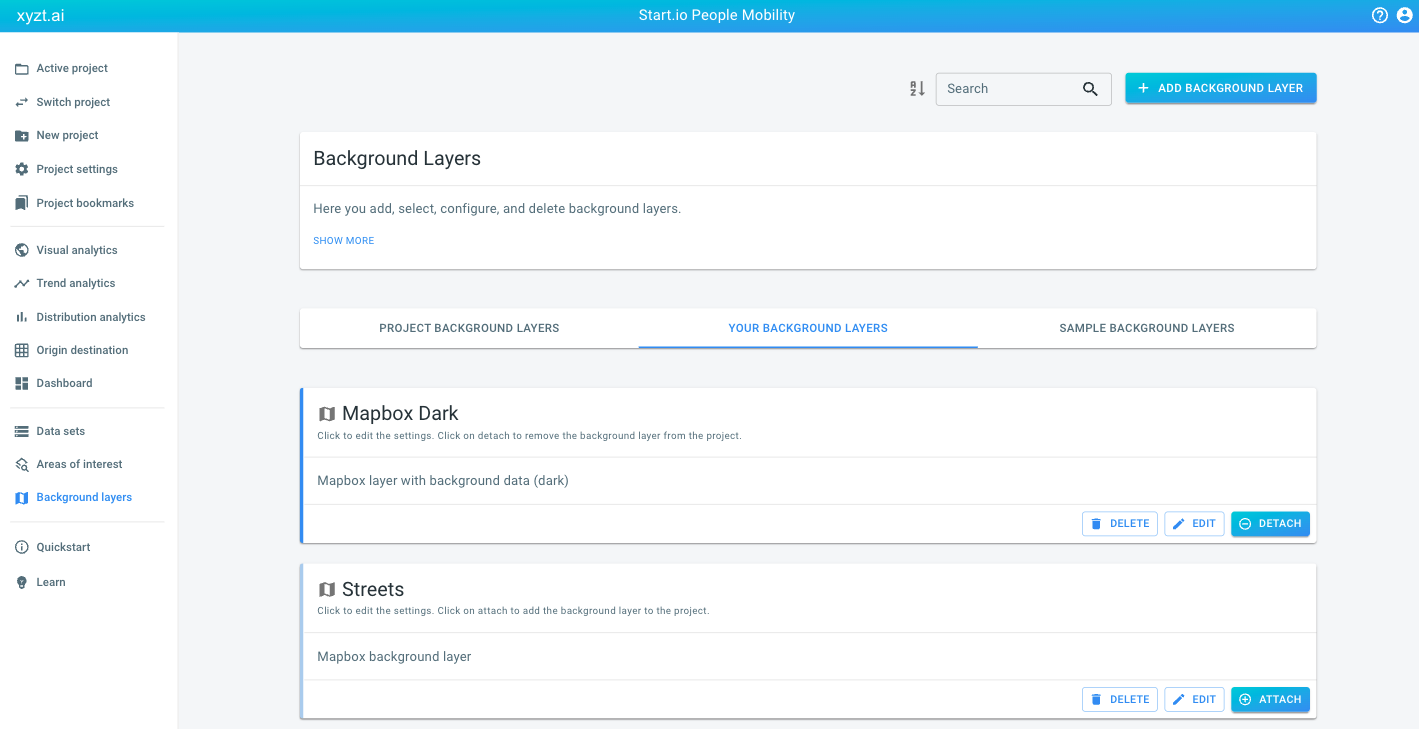
Figure 10. Your background layers tab
Step 3: Find the background layer you want to add to or remove from the project
Browse through the available background layers and find the card of the background layer you want to add to or remove from the project.
|
Use the search box at the top of the page
To make it easier to find the background layer you are looking for, you can:
|
Step 4: Add or remove the background layer from/to the project using the attach/detach button
Click on the Attach button on the right bottom of the background layer card to add the background layer to the project.

Figure 11. The background layer card with attach button
If the background layer is already added to the project, you can click the Detach button to remove it from the project.

Figure 12. The background layer card with detach button
|
Detaching a background layer can hide it from the UI
The PROJECT BACKGROUND LAYERS tab is very convenient if you want to detach a background layer from the project, as it only lists the currently included background layers. The moment you press the Detach button on a card, the background layer will be removed from the project and hence no longer appear on that tab. That doesn’t mean the background layer is removed from your account, but simply that it’s no longer included in the project. you will still find it on the YOUR BACKGROUND LAYERS or SAMPLE BACKGROUND LAYERS tab. |
|
Adding or removing background layers doesn’t affect the background layer itself
Adding (attaching) or removing (detaching) a background layer from/to a project doesn’t affect the background layer in any way. It only creates or removes a relationship between the background layer and the project. For example, detaching a background layer from the project won’t delete the background layer itself. It will only remove the relationship between the background layer and the project. |
Managing the areas of interest in a project
Step 0: Load the project
Before you can make changes to the areas of interest used by the project, you need to load the project.
Step 1: Navigate to the areas of interest overview page
by clicking on the Areas of interest button in the left navigation bar
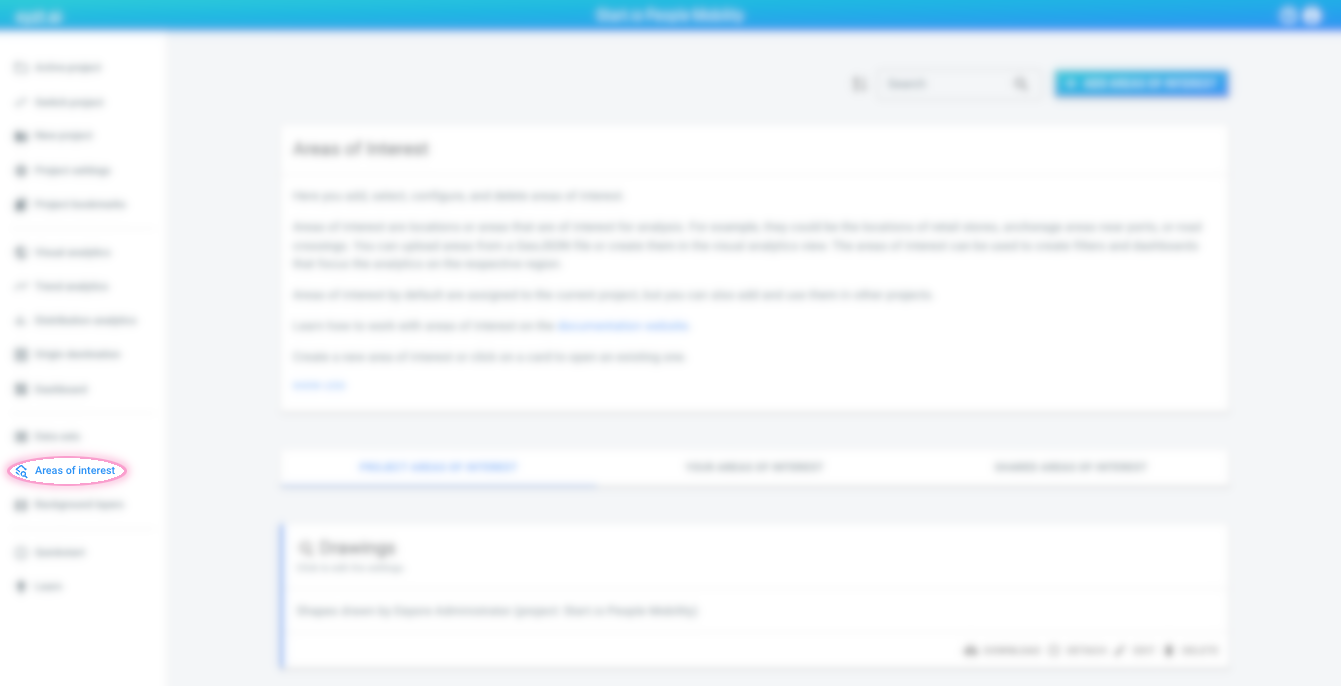
Figure 13. The Areas of interest button in the navigation bar
Step 2: Discover which areas of interest are included in project
The areas of interest overview page lists all the areas of interest to which you have access.
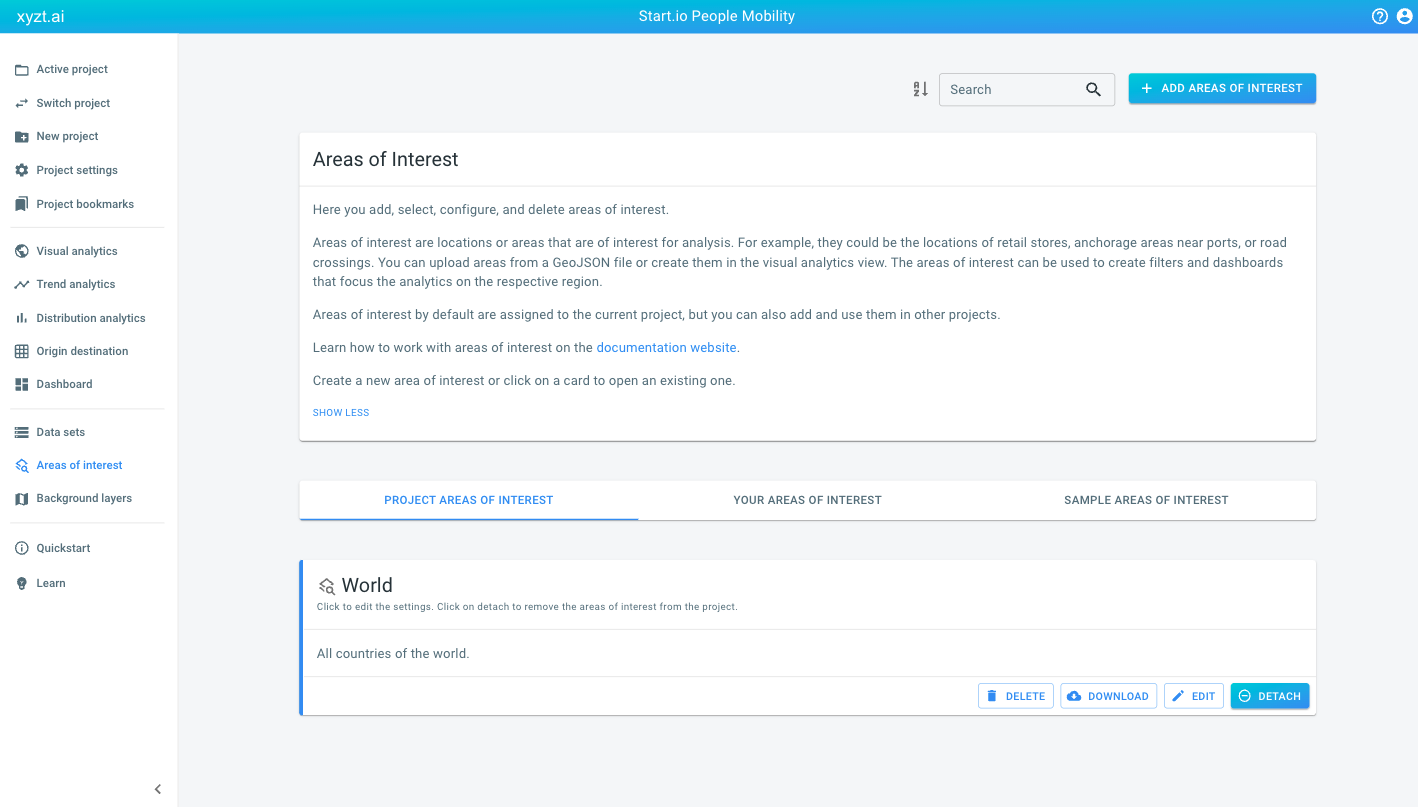
Figure 14. The Areas of interest overview page
The available areas of interest are divided in 3 groups:

Figure 15. The Areas of interest three tabs
-
PROJECT AREAS OF INTEREST: shows the areas of interest that are currently included in the project, if any
-
YOUR AREAS OF INTEREST: lists all the areas of interest in your account created by any member of your team. This includes both the areas of interest included in the current project, and ones which aren’t included.
-
SAMPLE AREAS OF INTEREST: these are example areas of interest used in the example projects.
The areas of interest which are currently used by the project are all grouped on the PROJECT AREAS OF INTEREST tab. When accessing another tab like for example the YOUR DATA SETS tab, the card of an included area of interest has a blue indication on the left side.
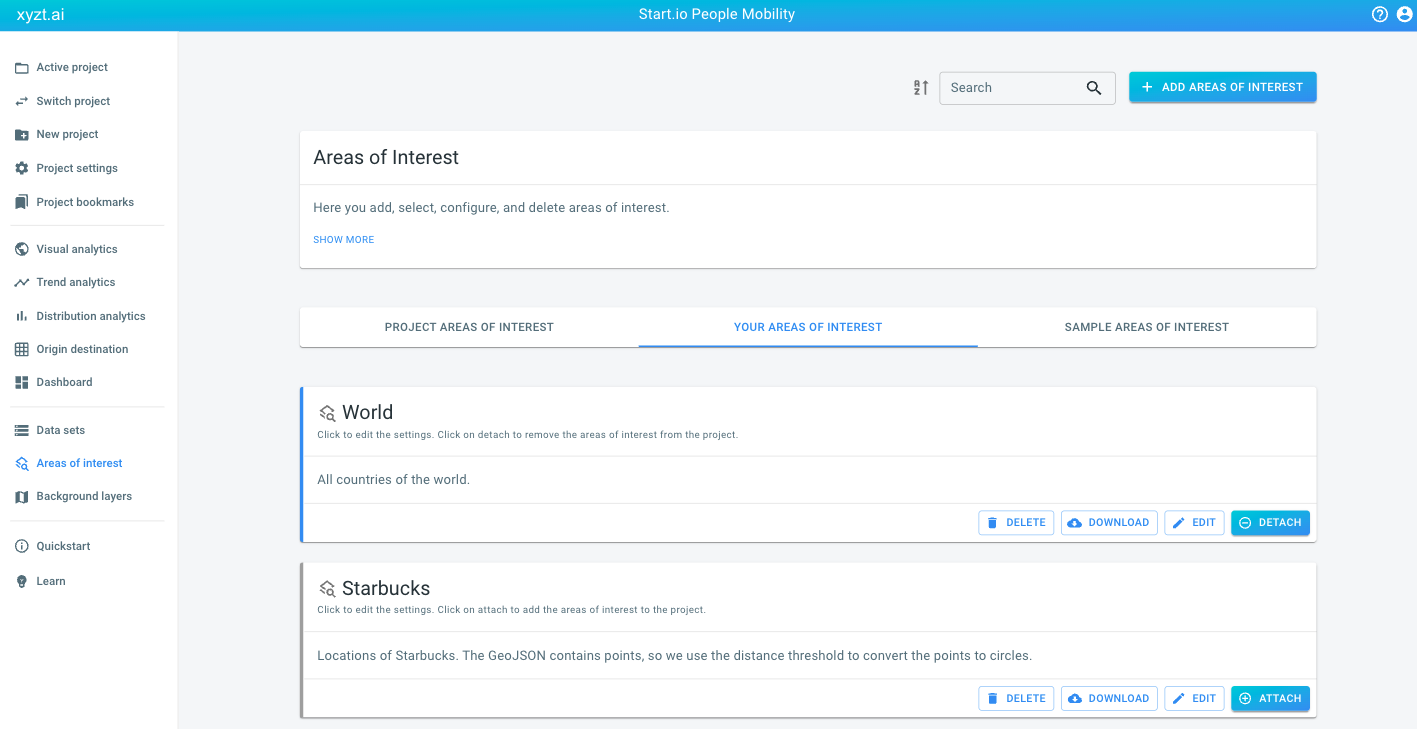
Figure 16. Your Areas of interest tab
Step 3: Find the area of interest you want to add to or remove from the project
Browse through the available areas of interest and find the card of the area of interest you want to add to or remove from the project.
|
Use the search box at the top of the page
To make it easier to find the area of interest you are looking for, you can:
|
Step 4: Add or remove the area of interest from/to the project using the attach/detach button
Click on the Attach button on the right bottom of the area of interest card to add the area of interest to the project.

Figure 17. The Areas of interest card with attach button
If the area of interest is already added to the project, you can click the Detach button to remove it from the project.

Figure 18. The Areas of interest card with detach button
|
Detaching an area of interest can hide it from the UI
The PROJECT AREAS OF INTEREST tab is very convenient if you want to detach a area of interest from the project, as it only lists the currently included areas of interest. The moment you press the Detach button on a card, the area of interest will be removed from the project and hence no longer appear on that tab. That doesn’t mean the area of interest is removed from your account, but simply that it’s no longer included in the project. you will still find it on the YOUR AREAS OF INTEREST or SAMPLE AREAS OF INTEREST tab. |
|
Adding or removing areas of interest doesn’t affect the area of interest itself
Adding (attaching) or removing (detaching) a area of interest from/to a project doesn’t affect the area of interest in any way. It only creates or removes a relationship between the area of interest and the project. For example, detaching a area of interest from the project won’t delete the area of interest itself. It will only remove the relationship between the area of interest and the project. |
Managing the data stores in a project
The steps are identical to how you manage data sets in the project, except that you use the Data Stores button instead of the Data Sets button.
Got feedback? Additional questions? Just want to have a friendly chat?
Get in touch!