Got feedback? Additional questions? Just want to have a friendly chat?
Get in touch!
Different types of background layers
There are 3 different types of background layers you can create.
-
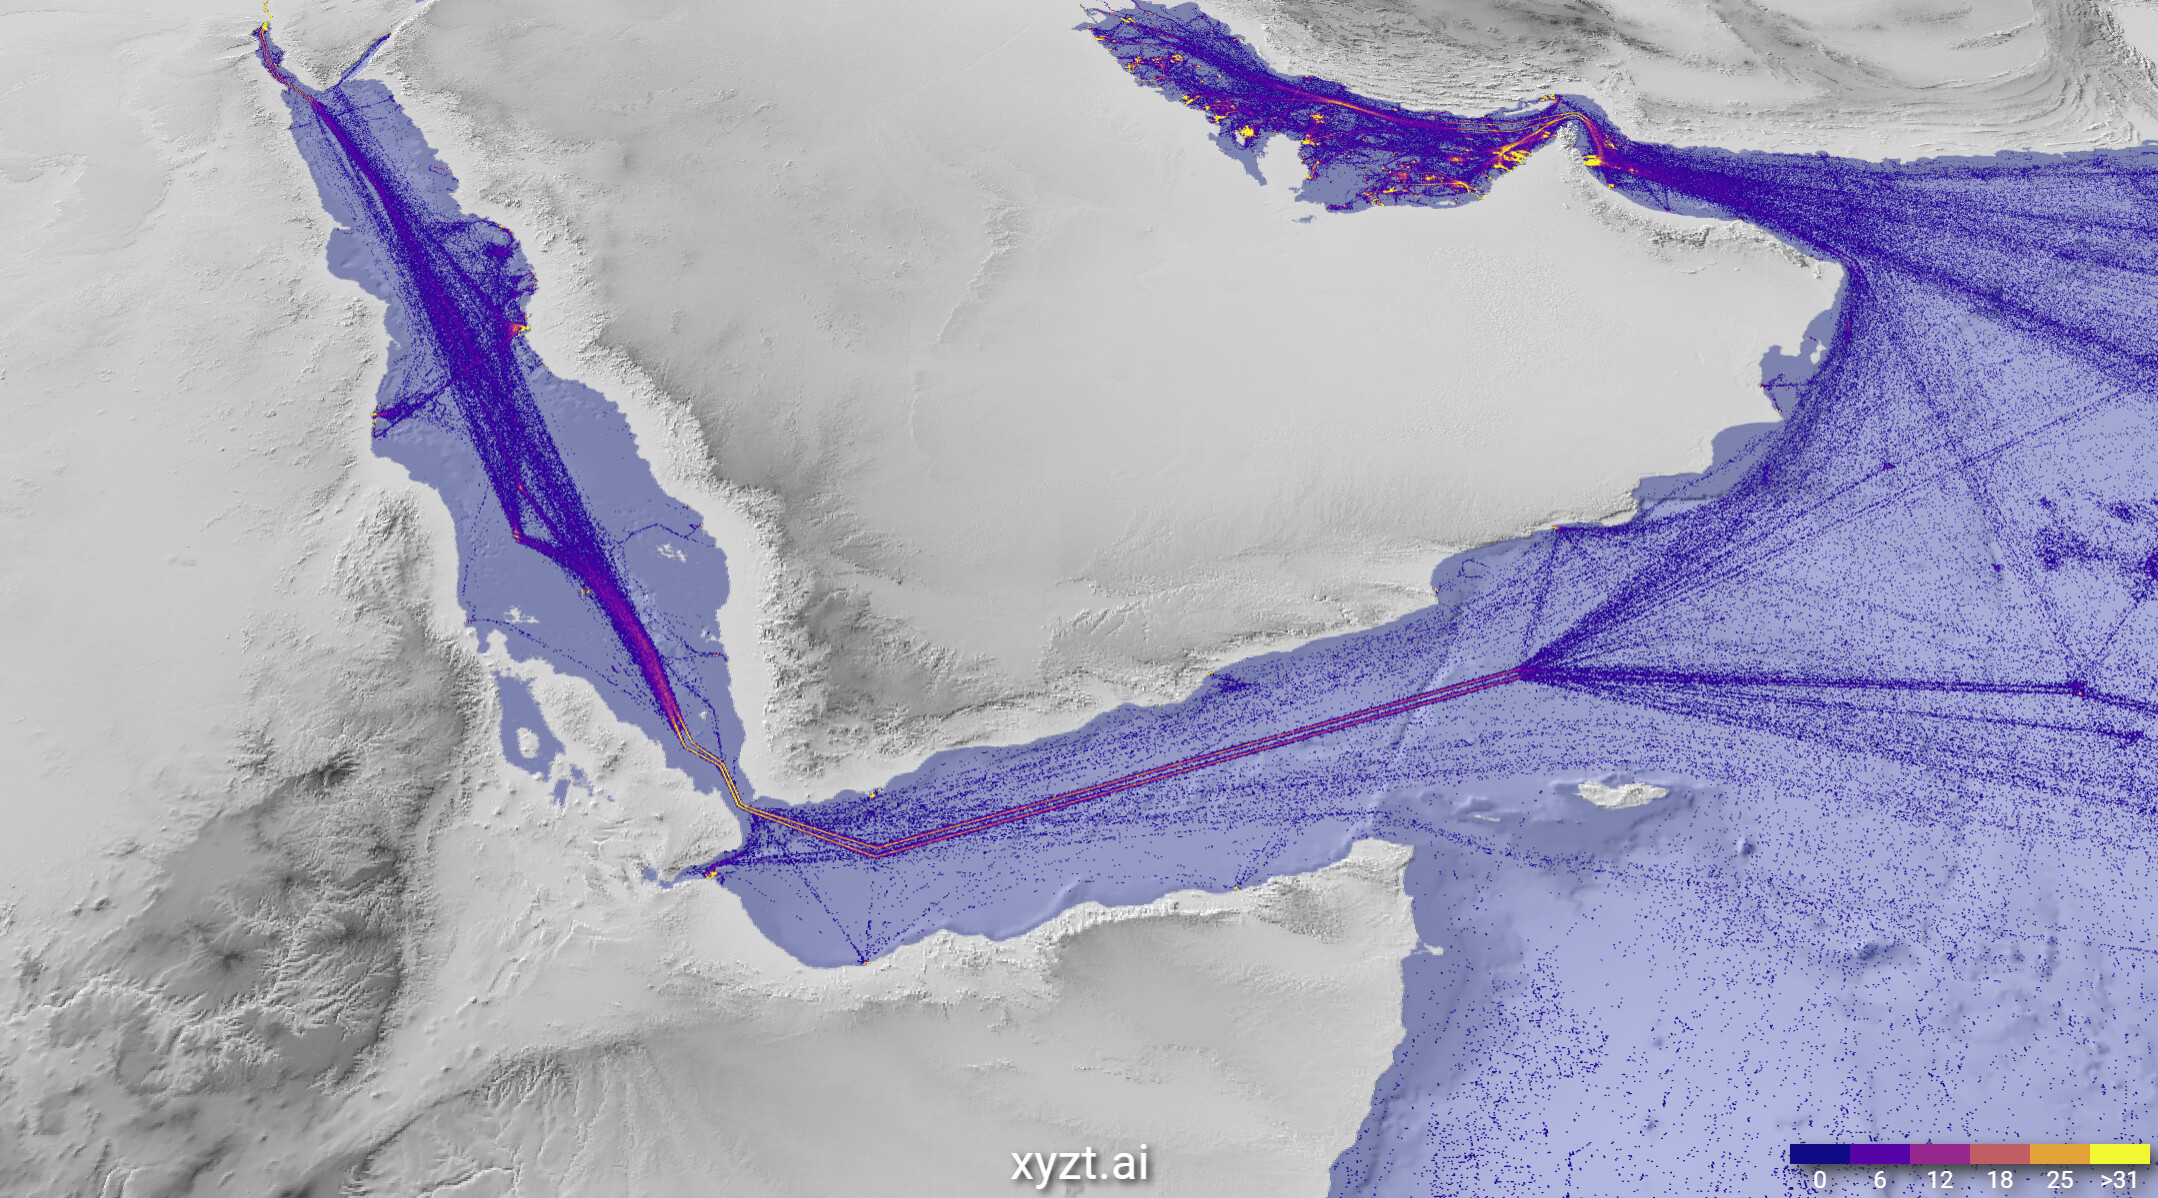
OGC Web Map Service (WMS). This is an established and standardized web service to provide maps to web clients. The content can be anything from aerial imagery, to weather and bathymetric data, and more.
Figure 1. OGC Web Map Service (WMS) background layer with bathymetric and elevation data with location data on top of it -
Mapbox layers: we currently support the following styles from Mapbox: light, dark, vector streets, imagery, and imagery with labels.
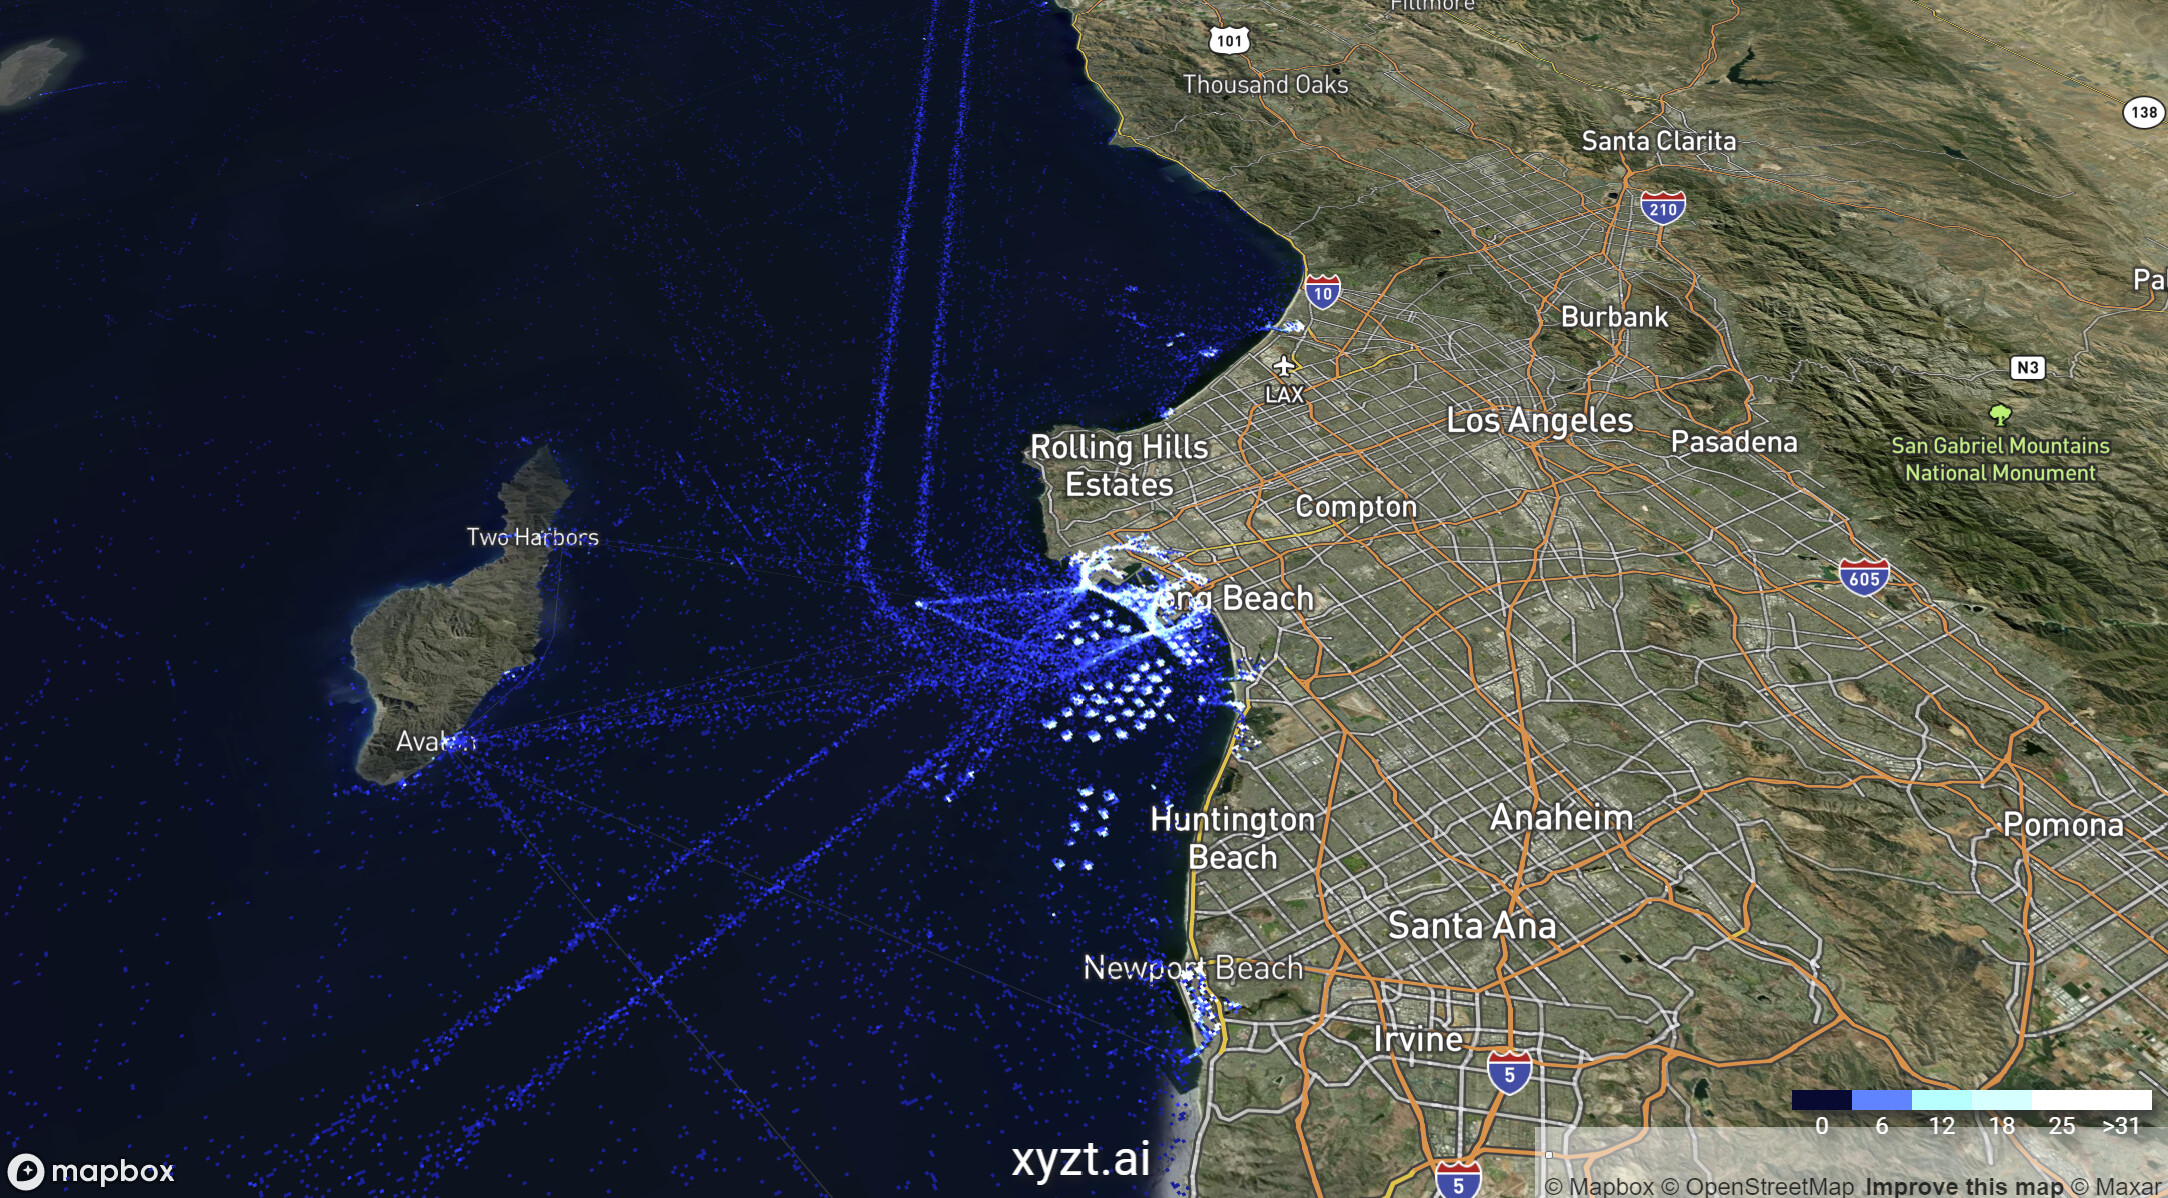 Figure 2. Mapbox background layer with imagery, streets, and places with location data on top of it
 -
GeoJSON vector data. GeoJSON is a popular web format for representing and exchanging vector shapes including polygons, points and lines. GeoJSON files should be in WSG84 reference.
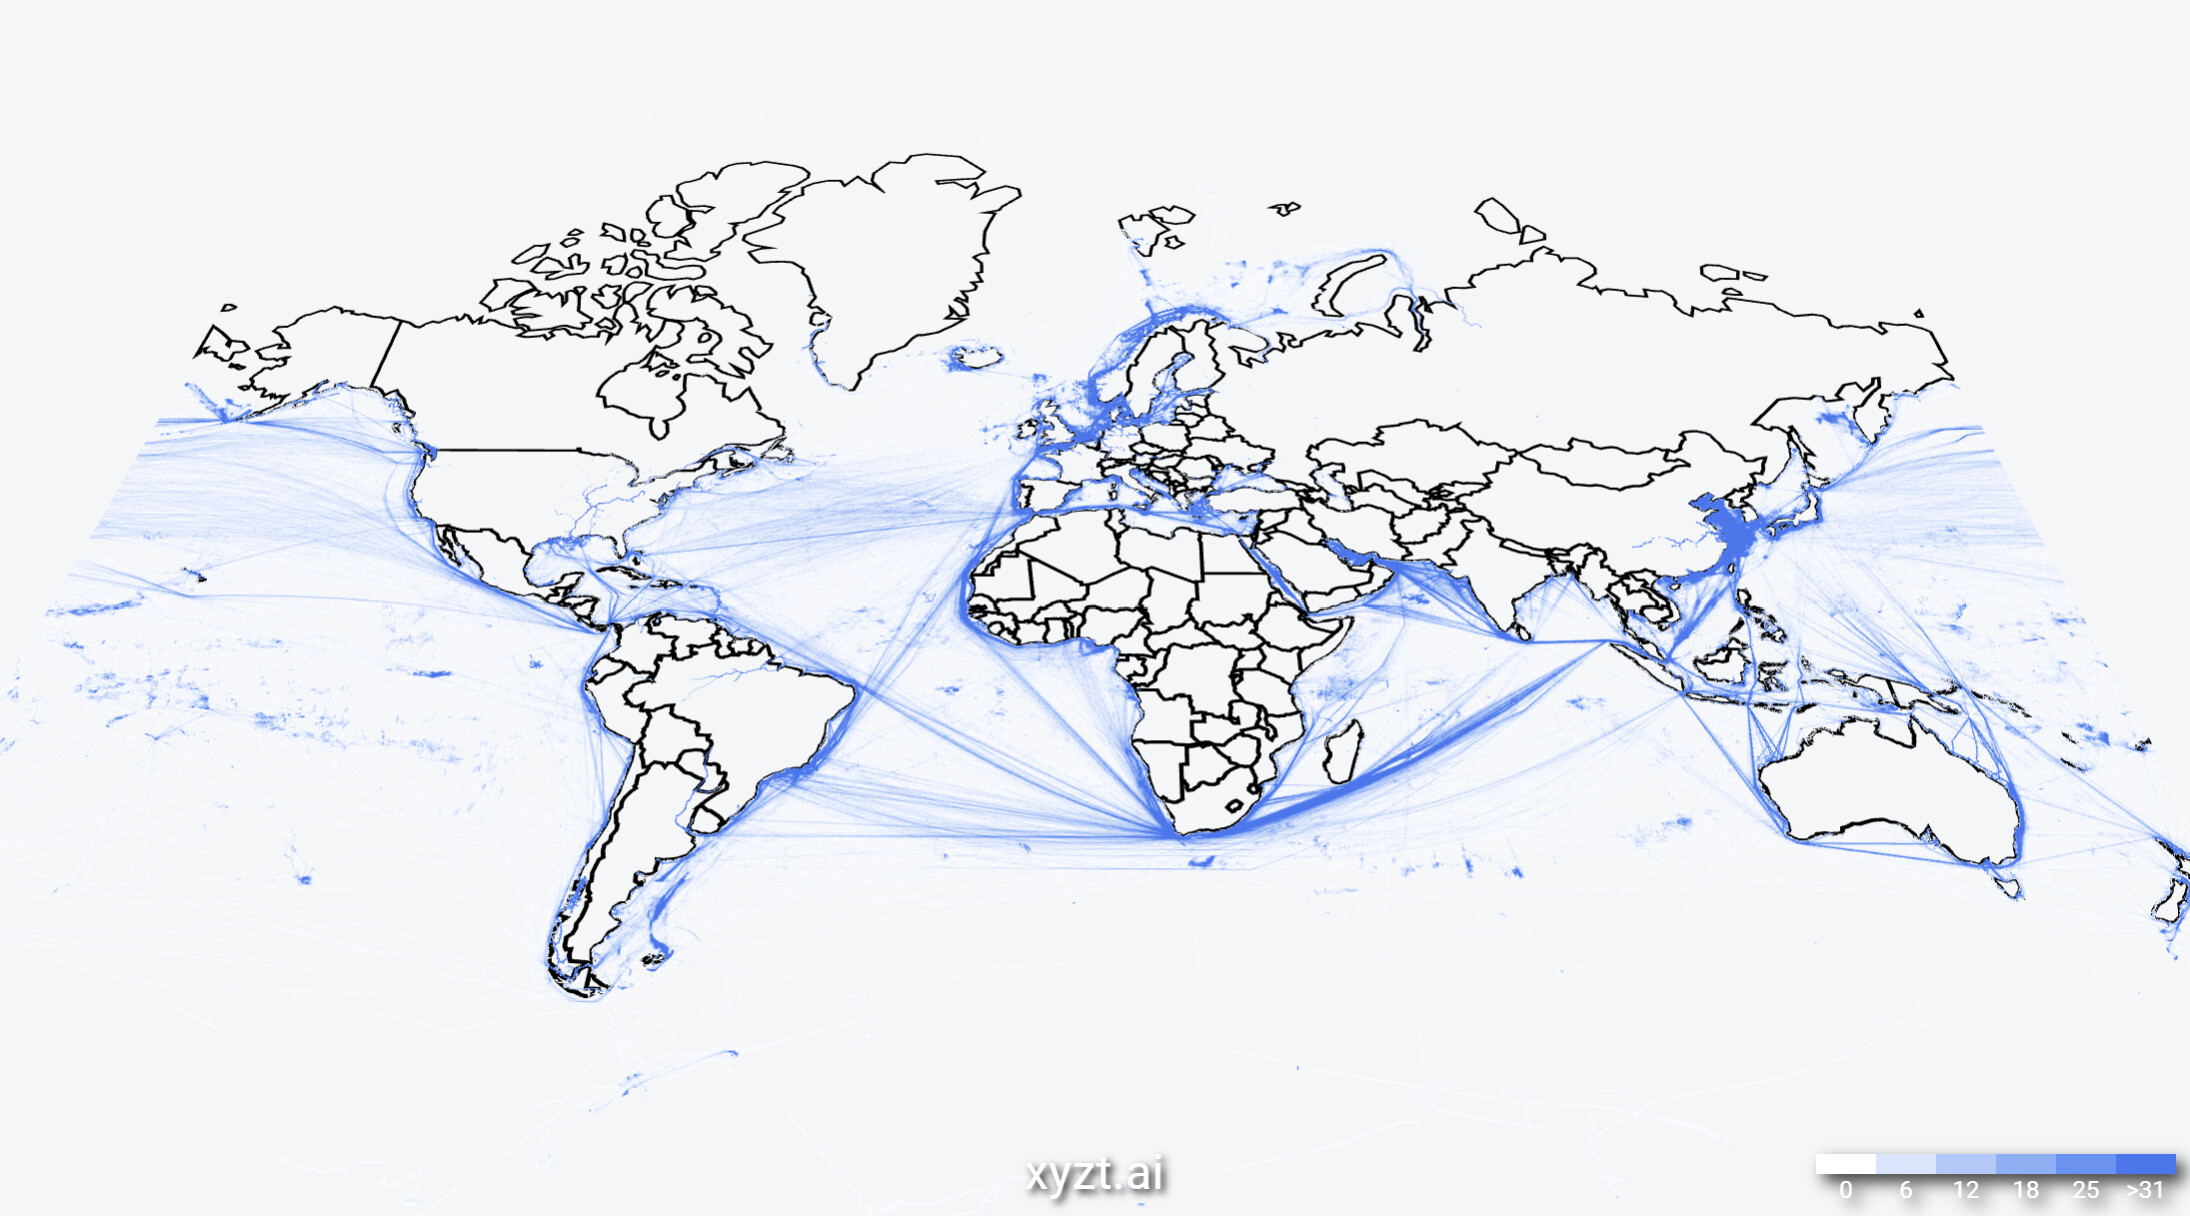 Figure 3. GeoJSON vector data of the world countries as background layer with location data on top of it
 -
SHP file. ESRI SHP is a popular GIS format for representing and exchanging vector shapes. Contrary to GeoJSON, an ESRI SHP file is not a single file, but instead is 3 or more separate files. These files have to be combined in a single zip file before uploading.
|
Not sure whether you are looking for a background layer ?
See the Introduction to data management article for an overview of the different types of data resources you can use in a project. |
How to create a new OGC WMS layer
Step 1: Navigate to the 'New background layer' page
by first clicking on the Background layers button in the left navigation bar
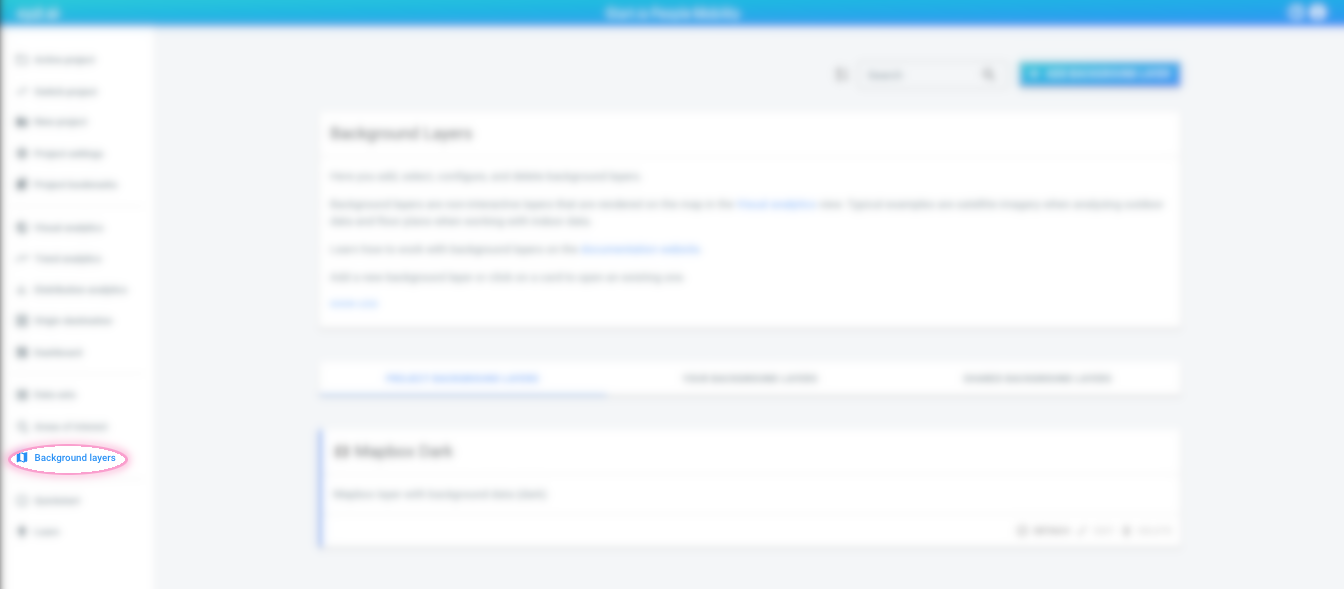
Figure 4. The Background layers button in the navigation bar
and then on the Add background layers button in the top right corner of the Background layers page.
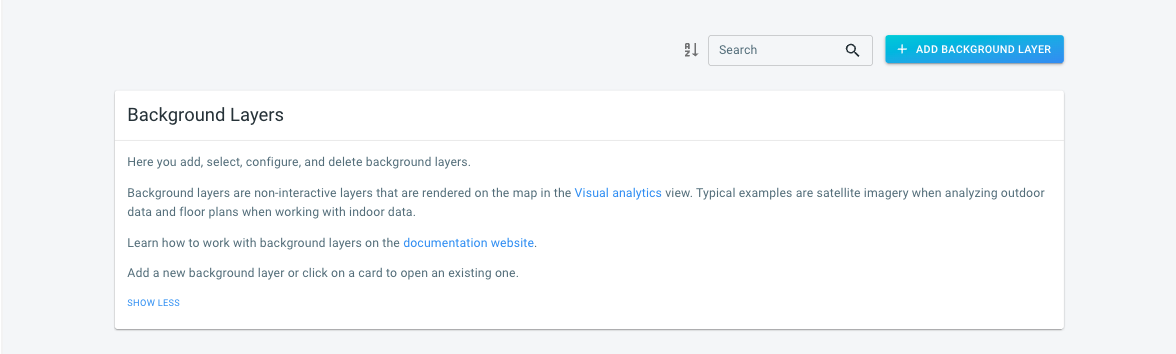
Figure 5. The Add background layer button in the top right corner of the Background layers page
Step 2: Create the WMS layer
by specifying the WMS server URL and one or more WMS layer ids.
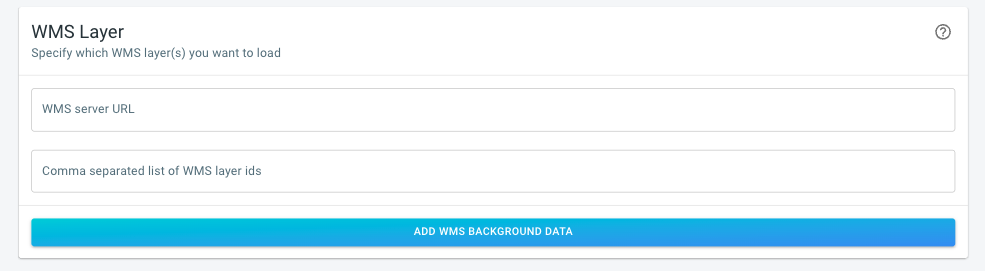
Figure 6. Create the WMS layer
and clicking the Add WMS background data button.
|
Retrieve the WMS layer ids from the capabilities document
You can always find which WMS layer ids the WMS server offers by checking the capabilities document. The capabilities document is an XML document, available on For example such a You can look at an example capabilities document on https://geoservice.dlr.de/eoc/basemap/wms?SERVICE=WMS&REQUEST=GetCapabilities .
One of the layers in there has |
Step 3 (optional): Edit properties
At this point, your WMS background layer is already created and available. If needed, you can edit the properties.
-
Changing the WMS server URL allows you to change the server. Typically this also requires updating the WMS layer ids as its unlikely that both servers offer layers with the same ids.
-
You can add or remove WMS layers by adding/removing them from/to the list of WMS layer ids.
-
The display name of the WMS background layer is used in the UI when we need to refer to that layer
-
The description of the WMS background layer is shown on the overview page with all the background layers. This is a good location to add some more details about this layer.
|
You can use HTML tags in the description
The description supports a subset of HTML tags. You can for example use it to |
|
You can always edit these settings later
You can always adjust these settings at a later time:
|
How to create a new Mapbox layer
Step 1: Navigate to the 'New background layer' page
by first clicking on the Background layers button in the left navigation bar
Figure 7. The Background layers button in the navigation bar
and then on the Add background layers button in the top right corner of the Background layers page.
Figure 8. The Add background layer button in the top right corner of the Background layers page
Step 2: Create the Mapbox layer
by selecting the type of Mapbox data you want to add from the dropdown
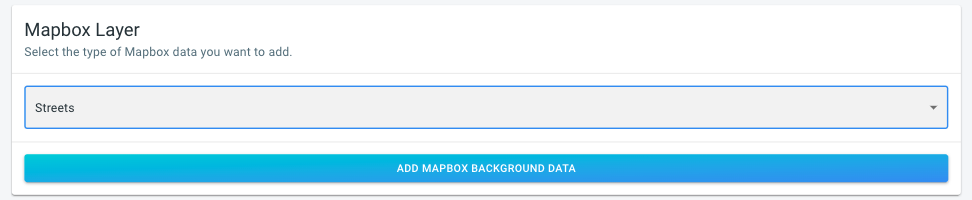
Figure 9. Create the Mapbox layer
and pressing the Add Mapbox background data button afterwards.
Step 3 (optional): Edit properties
At this point, your Mapbox background layer is already created and available. If needed, you can edit the properties and filters.
-
The display name of the Mapbox background layer is used in the UI when we need to refer to that layer
-
The description of the Mapbox background layer is shown on the overview page with all the background layers. This is a good location to add some more details about this layer.
|
You can use HTML tags in the description
The description supports a subset of HTML tags. You can for example use it to |
|
You can always edit these settings later
You can always adjust these settings at a later time:
|
How to create a new GeoJSON/SHP layer
Step 1: Navigate to the 'New background layer' page
by first clicking on the Background layers button in the left navigation bar
Figure 10. The Background layers button in the navigation bar
and then on the Add background layers button in the top right corner of the Background layers page.
Figure 11. The Add background layer button in the top right corner of the Background layers page
Step 2: Upload your GeoJSON or zipped SHP file
by either drag-and-dropping the file onto the drop area
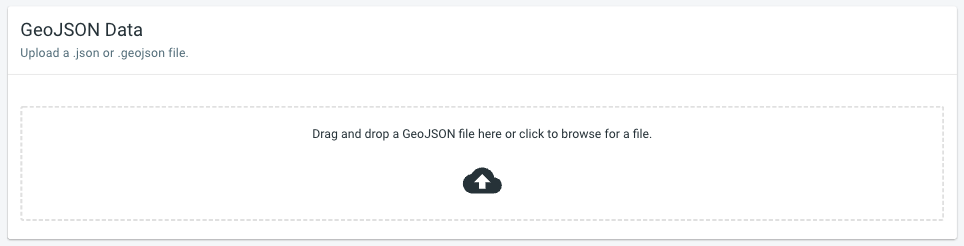
Figure 12. The Drag and drop area for the GeoJSON/SHP file
or by clicking the drag-and-drop area to select a file through a file chooser.
In case you want to upload an ESRI SHP file (which consists typically of 3 or more separate files), you need to first combine all the files into a single zip file before uploading.
Upload your GeoJSON (or zipped SHP) file
Step 3 (optional): Edit properties and filters
At this point, your background layer is already created and available. If needed, you can edit the properties and filters.
-
The name of the background layer is used in the UI when we need to refer to that layer
-
The description of the background layer is shown on the overview page with all the background layers. This is a good location to add some more details about this layer.
|
You can use HTML tags in the description
The description supports a subset of HTML tags. You can for example use it to |
-
The area display name property is the property in the GeoJSON/SHP data used to label the data when shown on the map.
For example if you have a GeoJSON/SHP file containing all countries in the world, and the GeoJSON/SHP data has properties like
name,continent,population, you could select thenameproperty as area display name property. When the data is visualized with labeling enabled, both the shapes of the countries and the name are displayed.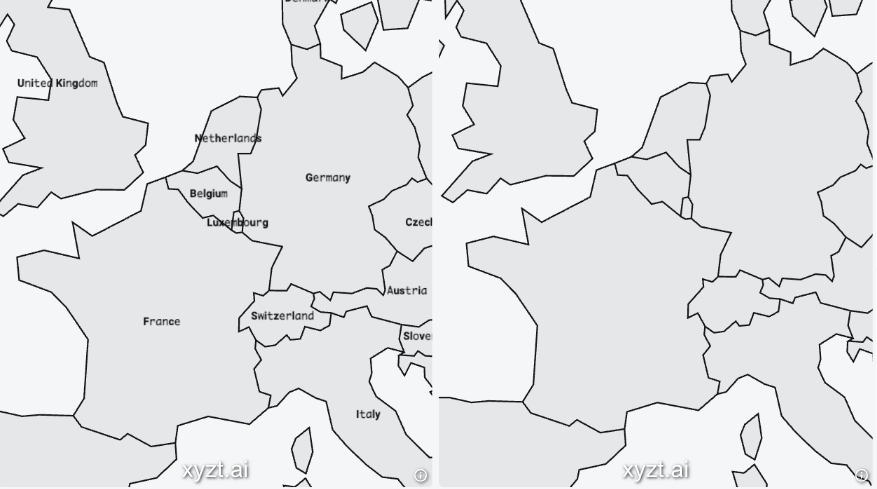 Figure 13. Two maps: labeled vs non-labeled GeoJSON/SHP layer
 -
The Style property is the property in the GeoJSON/SHP data containing the style information for that feature.
The platform currently supports the following styling properties:
Overview of the supported style properties{ "fillStyle": { "fillColor": "an array with [r,g,b] or [r,g,b,a] values, each between 0 and 255" }, "lineStyle": { "lineWidth": "the line width in pixels", "lineColor": "an array with [r,g,b] or [r,g,b,a] values, each between 0 and 255" }, "iconStyle": { "fileName": "the file name of the icon to use", "width": "the width of the icon in pixels. Must match the width of the icon file.", "height": "the height of the icon in pixels. Must match the height of the icon file." }, "labelStyle": { "fontColor": "an array with [r,g,b] or [r,g,b,a] values, each between 0 and 255", "fontSize": "the font size for the labels" } }For example, if the style is stored in the
styleproperty, a singleFeaturein the GeoJSON/SHP could look like:ExampleFeaturewith style information{ "type": "Feature", "id": "SHP_12291", "geometry": { "type": "Point", "coordinates": [ 4.6964679, 50.8875041, 0 ] }, "properties": { "code": 2725, "fclass": "artwork", "name": "Mariabeeld Abdij Keizersberg", "osm_id": "1165050537", "style": { "iconStyle": { "fileName": "landmark.png", "width": 48, "height": 48 }, "labelStyle": { "fontColor": [ 100, 41, 71 ], "fontSize": 11 } } } }When working with icons:
-
You should upload the icons defined in your style (either one by one, or a
.zipfile containing all icons) -
The
fileNameproperty in theiconStylemust match the file name of one of the uploaded icons
-
-
Remove certain features by defining a filter.
When your GeoJSON/SHP data has properties, you can only include the features or shapes of which the properties match your filter. Changes made to the filter will be previewed immediately.
For example if you have a GeoJSON/SHP file containing all countries in the world, and the GeoJSON/SHP data has properties like
name,continent,population, you can define a filter to include the countries of Europe with a population above 20 million people.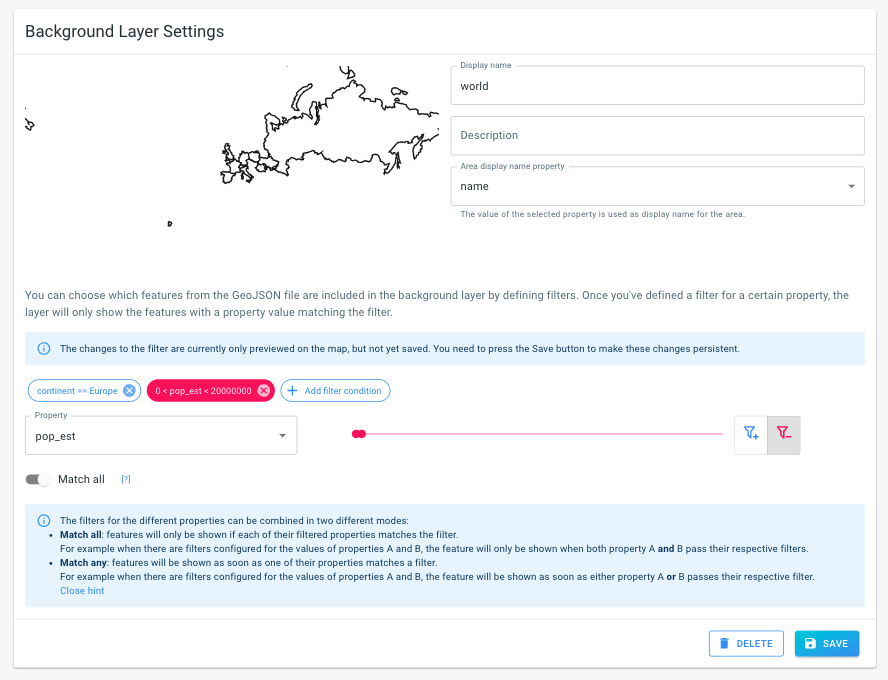 Figure 14. The Background layer settings
After you have changed the settings, press the Save button to apply them.
|
You can always edit these settings later
You can always adjust these settings at a later time:
|
Got feedback? Additional questions? Just want to have a friendly chat?
Get in touch!